I’ve got another SUPER easy craft project for you guys for today! I was going to try and make a video on this, but it ended up being SO simple that it was hardly worth filming a video on, honestly. Like, it would have taken longer to set up a tripod than this whole project took. Which is awesome for YOU, because it’s just that easy.
Anyway, here we go!
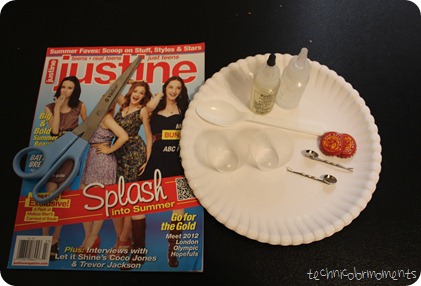
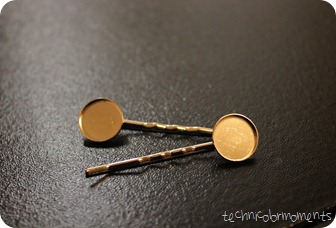
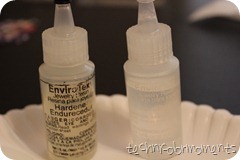
What you’re going to need is a magazine (or pictures from online, or anything else you want to put into the clips), scissors, all of the stuff that comes in a resin kit (the actual resin, hardener, two mixing cups and a plastic spoon/popsicle stick/etc) and then the clips themselves. I got mine from Hobby Lobby and I think it was $3.99 for a pack of 12. They’re just hair clips with hollow disks on the tip!
I also filled in some bottle caps, and this tutorial could be for that too. You could use the caps as magnets, on necklaces, or even glued onto hairclips!
Here’s another view of the hair clips,
just so you know what you’re looking for.
Okay, so go ahead and cut out whatever it is you’re using. I found this strip of hearts that I thought was so cute, so I’m using that for both hair clips. I also have a plain heart for one of the bottle caps, and the other is some stars from an Olympics article (old magazines, FTW!)
Cut them to size, and stick ‘em in whatever it is you’re sticking them in!
Now go and mix the resin and the hardener following the directions on the package. The stuff I have from Michael’s says to mix in exactly even measurements, and then has specific stirring instructions. Just read the box, okay?
Go ahead and port that over your pictures. If you want to add in glitter (which I, of course, did), do it now. Sprinkle the glitter right on into the poured resin.
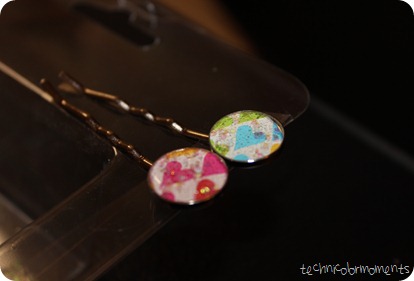
Then, make sure you sit them somewhere flat and stable to dry, because these will take AT LEAST 48 hours, but in my experience it can take as much as four days. Don’t do this if you need the clips immediately. You need to be patient. Trust me, you can wait. As you can see for the clips, I have them stuck onto just some old packaging so that they sit flat.
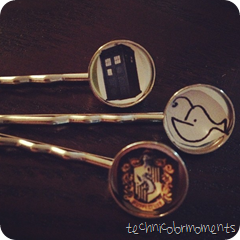
Finally, here’s just a couple more I did the other day when I was first trying this out; I made nerd clips! Just a simple TARDIS, a hanklerfish, and the Hufflepuff crest.
[22/28]







VERY cute! Love the TARDIS one of course ;)
ReplyDeleteHi, I'm a new follower on your GFC, from the Aloha Friday hop.
ReplyDeleteHope you're having a great weekend!
lork
http://www.lifewithraisapain.com
Aloha!
ReplyDeleteI'm here from the big blog hop "Aloha Friday" and from today I'm following you on GFC.
Would you like to come to my little sewing blog and, if you like what you see, follow me back?
I'd be reaaaaally pleased!!!
Thank you,
c u soon,
MammaNene from
SergerPepper.blogspot.it
@MammaNene Following you back!
ReplyDeleteHi Jennifer, you are so crafty! what a lovely blog you have. Cant wait to follow along. Im your newest follower via aloha blog hop.
ReplyDeleteVickie
ohabbyday.blogspot.com
Aloha!! I love this!! I make pendants kinda sorta like this... So fun! I'm a new follower from the the blog hop. Feel free to visit my blog- I'm a makeup nerd... that's my current fave craft :-)
ReplyDeleteHi Jennifer!
ReplyDeleteI wanted to invite you over to our blog hop going on right now. Also following you on Twitter from Aloha! Here’s the link:
http://dysfunctionsjunction.com
Thanks!
Katie~